Saturday 15 September 2012

DIY - Bracelet Organiser


Today I have created something simple, easy and super fun :) A bracelet holder... I find this way of organising your bracelets very easy, as they aren't difficult to get to, it also looks adorable on my dresser alongside my other jewellery holder creations!

Okay dokay, let's begin...
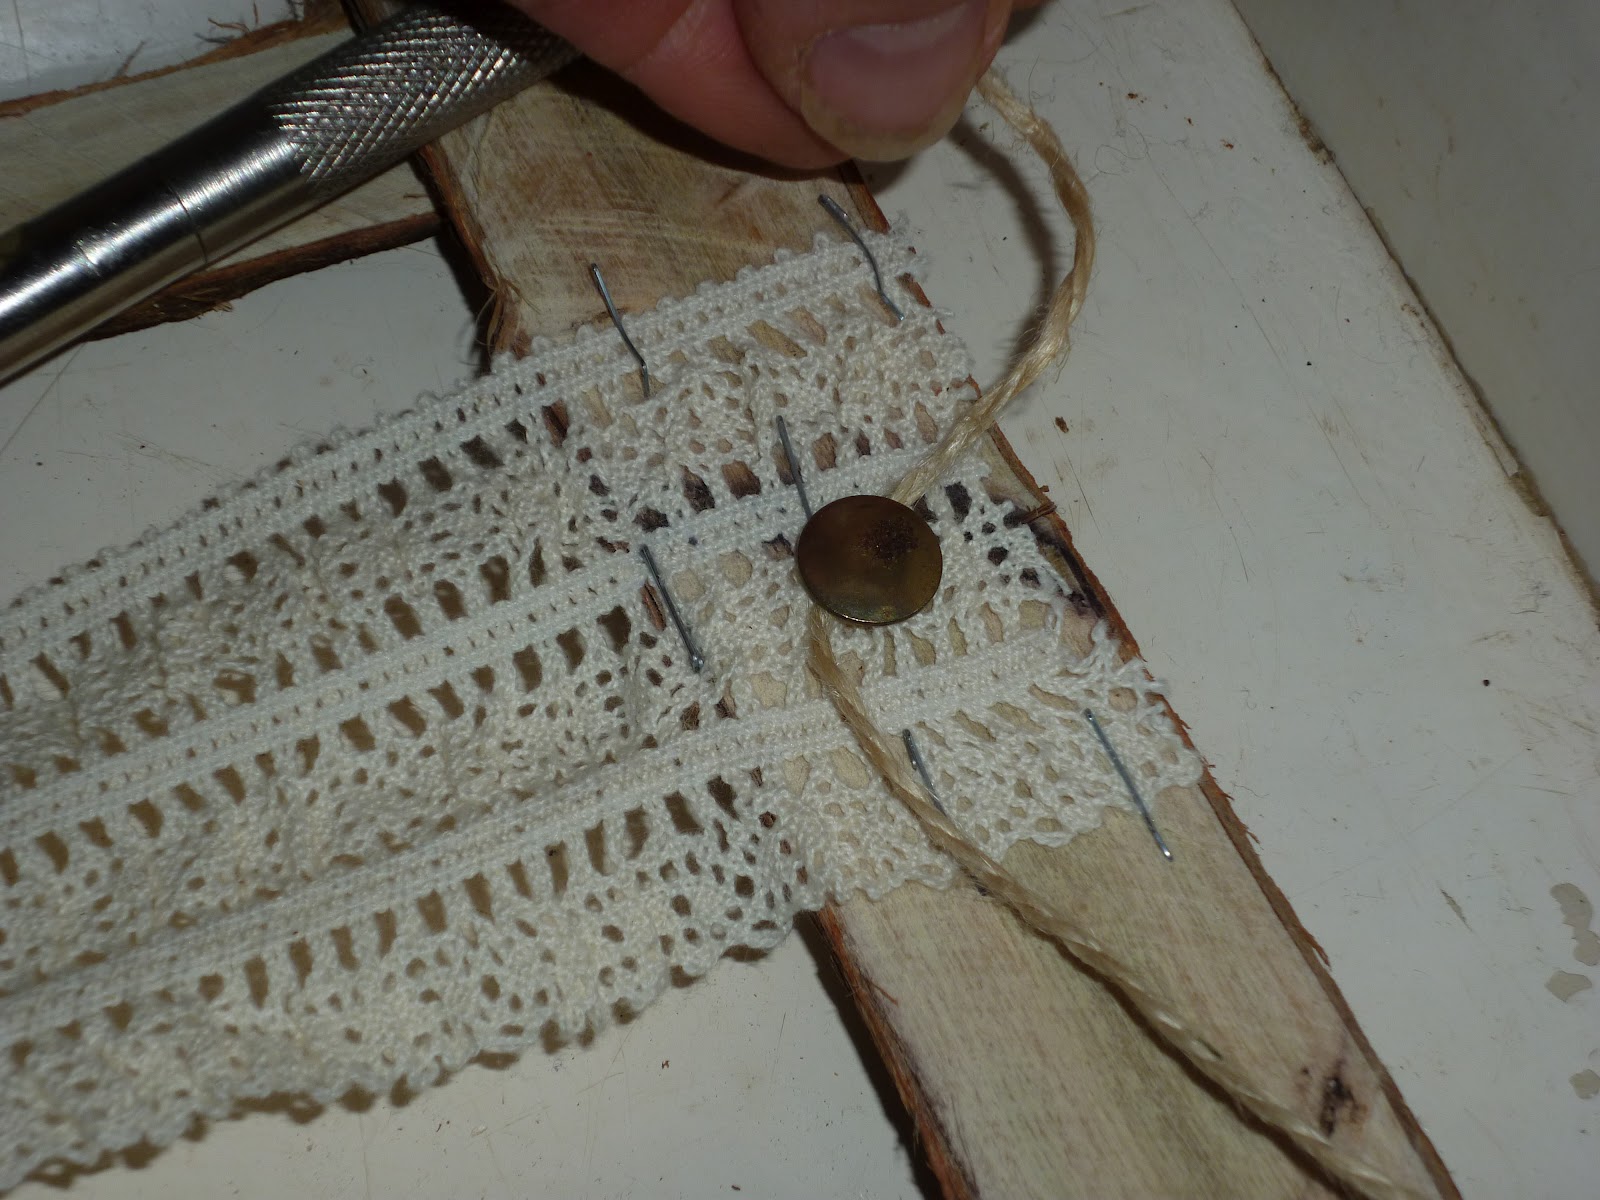
What you will need:
1. A mug holder (you may have one lying around at home, if not check out your local charity shop-I got mine for just $2- you can find these mug holder's pretty much at any second hand shop.)
2. Acrylic paint in any colour you wish (I mixed an off white with red to make a pale pink.)
3. A couple of paint brushes of different sizes.
4. A jar of water to clean your brushes.
5. A jar or paint pallet to mix your paint colour on.
6. And a rag or old towel to clean up any mess (make sure you have some old clothes on for this as well, you don't want paint stains on your nice clothes :/)

The steps are pretty simple and self explanatory... mix up your paint and then paint it :) You will have to do at least two coats, it will take an hour or two for the first layer of paint to dry before you can start on your second coat. You don't want to paint over semi-dried or wet paint because the brush will just take that layer of paint off and it will just look messy! So it's better to have some patience and wait until the first coat is completely dry.

Yay! Now that it's dry you can put your favourite, or if you like, ALL of you bracelets on your refurbished hanger :) This is so simple and easy! I totally recommend this as it makes your bracelets easily accessible and it looks really cute on a dresser or desk!


Friday 17 August 2012

Soulful Sunday Evening

It may be winter here in New Zealand, but the sun is still warm and the beach will always be 5 minutes down the road... what better way to end your Sunday with a relaxing walk along the beach with your sweety :)


Monkey Man!


I love ending my day with a stroll down the beach, it gives you time to think, relax and takes your mind off  stressful homework and study. Try it! When you see blue sky, go outside! Don't waste away a beautiful day! :)

Friday 10 August 2012

DIY - Earring Organiser


I was initially going to make this using an old photo frame, but I didn't have one and I wasn't feeling up to driving to the shops. So, I got even more creative and made the frame from scratch (with help from Dad of course), I like this because it has an interesting wood effect and goes well in my room. However, I will not be showing this part today, just imagine that the wooden frame is instead a normal photo frame (using a frame is much easier, all you need to to is find a frame and chuck away the back part of it). If you're not one to go all out and spend half a day trying to make a frame, then I recommend you simply use an old frame. I will start by showing you how I put the lace on and how I attached it to my wall (this is the easy part). 


All you need is: 
  • A stapler and staples
  • Fabric scissors
  • A heavy book (to hold the lace down)
  • About 30-40 cm of lace (depending on the size of your frame)
  • 3 pins
  • About 30 cm of string (also depending on the size of you frame)

Alrighty, let's begin...
  1. Start by measuring out the lace along the back side of your frame (you can add more or less, depending on what you fancy). Make sure you measure out extra lace-just in case-I didn't use a ruler, I simply used the length of my frame as my ruler.
  2. Once you have got the correct length, cut the lace (mine is cut into 2 pieces, however if you have skinnier lace you might want to cut it into 3 or 4 pieces).
  3. Turn the frame over, place the lace where you want it to go and pull it so it's reasonably tight (this is important, as you don't want the lace to hang down when the earring's are on it). This is when the book comes in handy, place the book on one side of the lace so it holds down while you staple the other side (make sure to keep pulling the lace tight).
  4. Staple as much as necessary, it doesn't matter how ugly it looks (mine looks mental) because no one will see the back any-ways, so just go crazy until it's nice and strong. Repeat this step on the other side of the frame as well as the other pieces of lace.
  5. Trim of any excess lace that sticks out the side.
  6. Now we can hang it on the wall! Put 1 pin on either side of the back side of the frame (near the top), don't push it all the way in as we need room to tie the string around it. You can use a small hammer if the pins are difficult to push in.
  7. Tie the string around 1 pin a couple of times, then pull it over to the other pin (make sure the string isn't too tight as it needs to hang onto the wall), tie the string around the other pin a couple of time and then tie it in a not. Cut of any excess string you don't want to be seen.
  8. Now, pin the middle of the string onto the wall, make sure it's centre. You want to make sure it's pushed in tight so that it does not go wonky.
  9. This is the best part! Hang your favourite earring's on it and admire your hard work :)
P.S: If there's anyone who really wants to know how I made the wooden frame, just comment and let me know and I'll post it up :)


Step One

Step Two

Step Three & Four
Step Five
Step Six

Step Seven & Eight
Step Nine